


Username formats supported to login to NoMachine by password authentication
Users connecting to a remote computer with NoMachine (whether over IP or over Machine Id) normally need to authenticate with valid credentials belonging to an account on the target machine. By default, NoMachine uses password authentication, which requires entering a non‑empty username and password. To login by NoMachine, insert the same username and password you use to physically log-in to that computer. If Guest Desktop Sharing is enabled, users can connect as guests without having an account on the remote computer. The connection must be authorized by the desktop owner.
Account types that NoMachine supports
Let's see in detail the possible account types, the format of their names and which of them can be effectively used to login by NoMachine.
'Username' must be the name of a valid account.
Account types can be:
1) Local system accounts on the NoMachine server host. User info is stored in the local database.
2) Microsoft accounts. User info is managed by Microsoft.
3) Domain accounts. User info is stored and managed by a domain server (e.g. MS Active Directory).
Often the Operating System displays a more userfriendly name instead of the name of the account, but only the name of the account can be used to log-in by NoMachine.
For sake of consistency, the NoMachine UI always displays the name of the account and never shows the user friendly format.
You can find below some hints to retrieve the proper name of the account to be used to log-in by NoMachine.
On macOS
Open a Terminal from Applications, the name of your account is the name displayed in the command prompt ('Account Name')
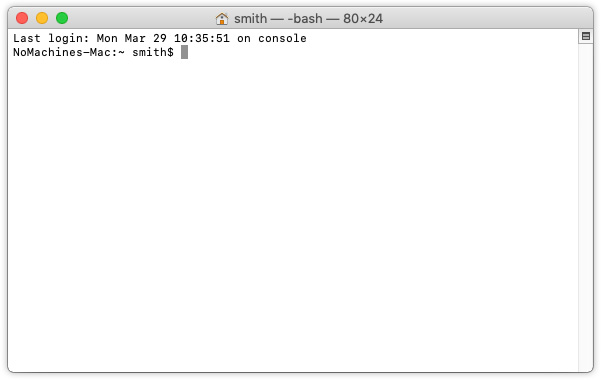
Fig. 1 - 'smith' is the name of the account & is displayed in the prompt of a Terminal
The macOS displays by default the 'Full Name' of the account, which is a userfriendly name associated to the account, but it cannot be used to log-in by NoMachine. Only the 'Account Name' can be used for that.
You can switch between showing the Full Name or the Account Name on the system from System Preferences -> Users and Groups. Choose Login Options -> Show fast user switching menu -> Full Name/Account Name.

Fig. 2 - Switch between displaying on macOS the Full Name or the Account Name
On Windows
Windows supports the following formats for the account names. They can all be used to log-in by NoMachine:
1) User Principal Name:
2) Down-Level Logon Name: <domain>\<username>
3) Short format name, just 'username', domain is implicit.
This is not really a different format, since it is just the Down-Level Logon Name without the domain part.
Ref. https://docs.microsoft.com/en-us/windows/win32/secauthn/user-name-formats
In addition to formats above, there is also the possibility to associate a 'friendly name' or nickname to the account. The friendly name, which corresponds to the 'Full name' in the account settings, can't be used to log-in by NoMachine. You need to use instead the name of the account, which is unique and corresponds to the 'Username' field in the account settings.
This is your Local Account 'username'. You can see it displayed in the Windows PowerShell or in the Command prompt (CMD), provide it when requested by NoMachine for the 'username'. Names of accounts with spaces are accepted as well.
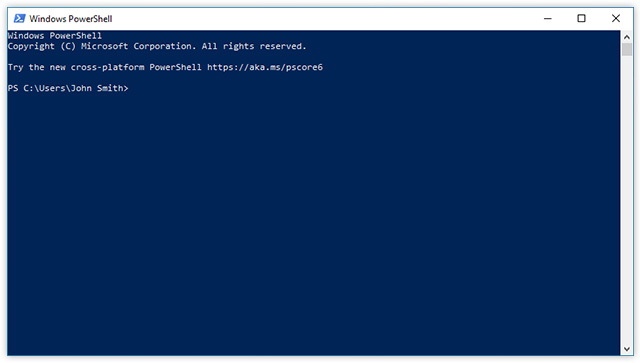
Fig. 3 - The username of the Local Account is displayed in the Windows PowerShell
In case of doubts about which is the name of the account and which is the friendly name, check the account information in the system settings.
User Principal Name UPN
This is the format of: user@domain.name
For example: smith@nomachine.com
NoMachine supports Microsoft accounts, which names use UPN format, and password authentication (PIN is NOT supported).
When enabled, you can see the User Principal Name in the Windows logon screen.

Fig. 4 - The friendly name associated to the local account and the UPN are displayed in the Windows logon screen
Down-Level Logon Name
This is in the format of: <domain>\<username>
For example: NOMACHINE\smith
NoMachine supports also AD domain accounts.

Fig. 4 - The Down-Level Logon Name and the UPN are displayed in the Windows logon screen
|
|||
Because of Windows policies, the password cannot be empty when connecting by remote. The PIN cannot be used. It's necessary to set a password for entering by remote. To do that (on Windows 10):
- Click the Start button -> Settings |
|||
On Linux
To find the account name ('username' or 'short name'), open a terminal, the prompt displays the name of the account. Provide it in the 'username' field to log-in by NoMachine.
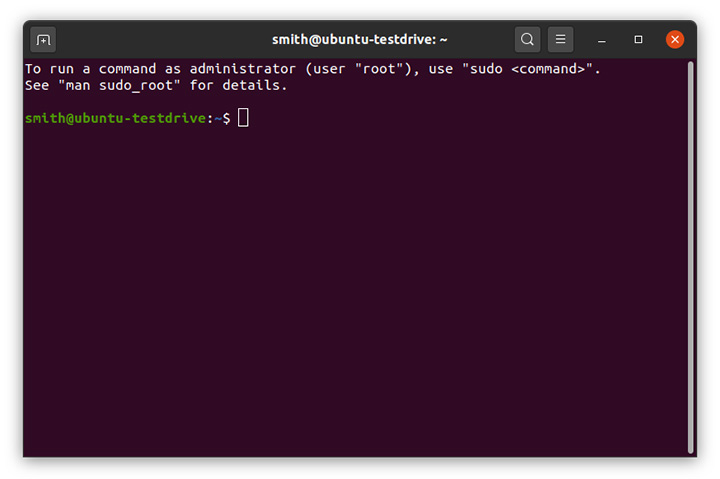
Fig. 5 - smith is the name of the account displayed in the terminal
There is also a real name or display name which is a userfriendly name associated to the account, by default displayed in the login screen. (e.g. when the screen is locked or when switching user). This userfriendly name cannot be used to log-in by NoMachine.
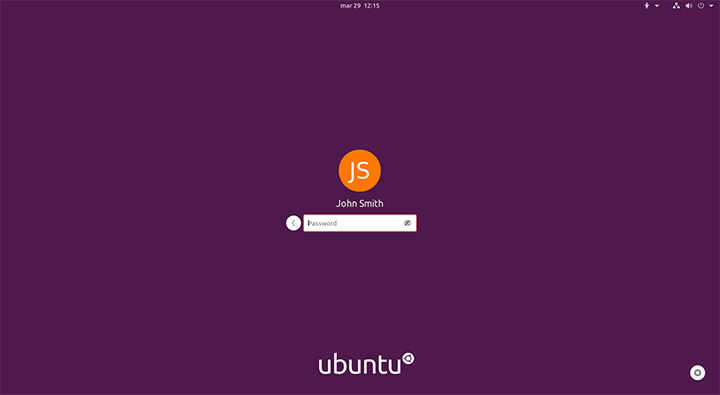
Fig. 6 - The real name on the login screen