


How to manage the NoMachine software via Jamf
If you are using Jamf to manage your macOS devices, the correct procedure to install and uninstall NoMachine is described below.
Installing
To install NoMachine create a policy which runs a shell command.
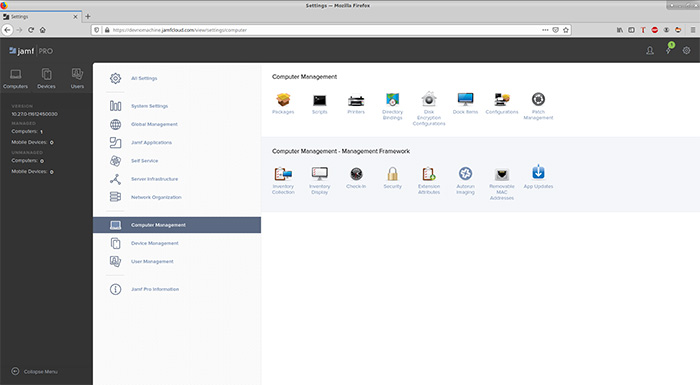
1. Create install script:
a) go to Computers → Settings → Computer Management.
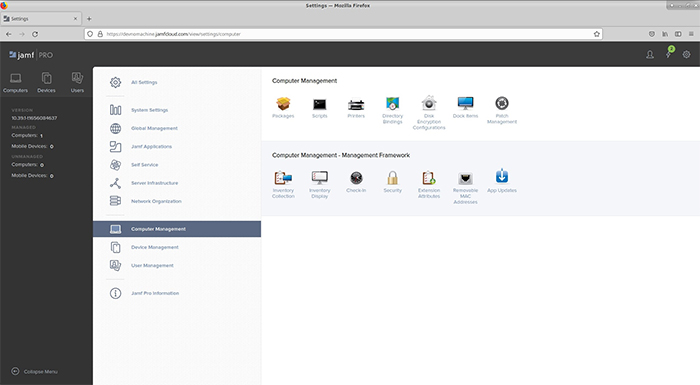
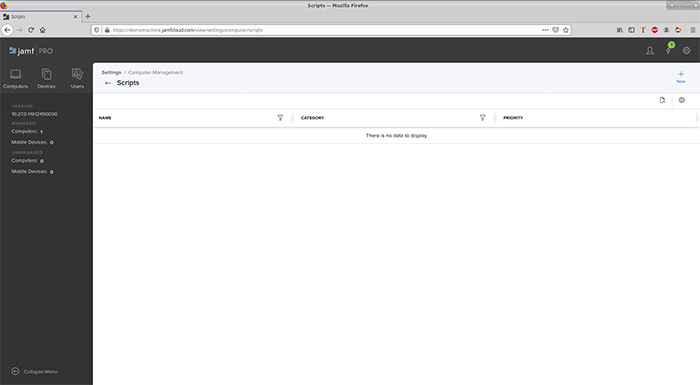
b) open Scripts.
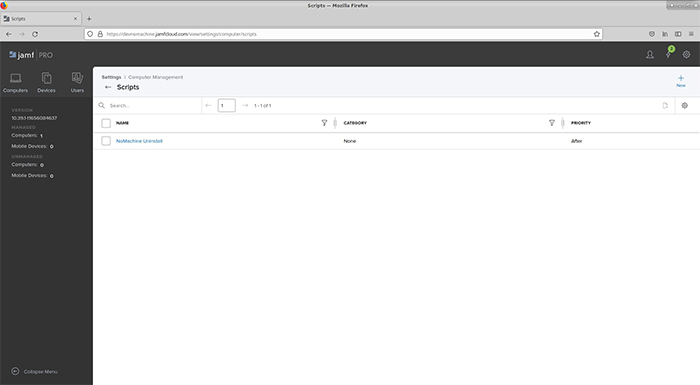
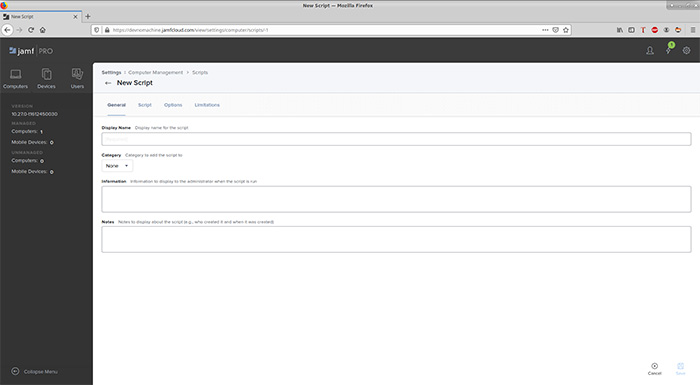
c) choose New.
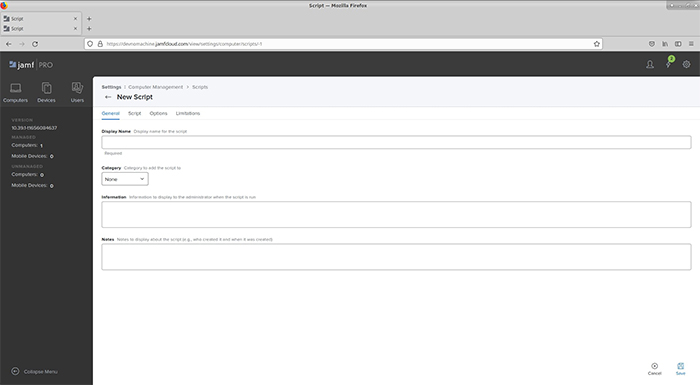
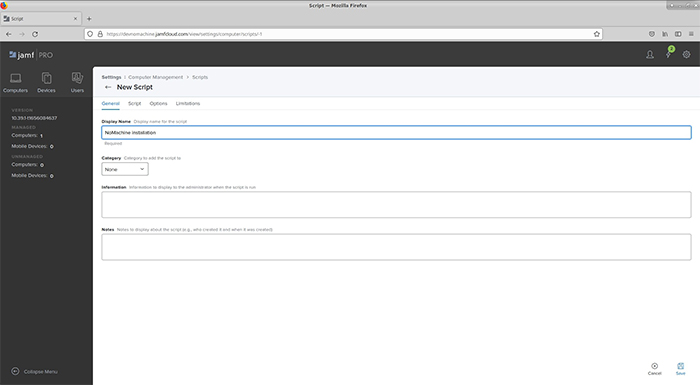
d) set Display Name.
e) go to Script tab and write uninstall command:
PACKAGE_PATH="/Users/nomachine/nomachine_8.0.161_1.dmg"

NXMOUNTDIR=$(echo `hdiutil mount "${PACKAGE_PATH}" | tail -1 | awk '{$1=$2="";
print $0}'` | xargs -0 echo)

sudo installer -pkg "${NXMOUNTDIR}/NoMachine.pkg" -target /
and set Script Contents as Shell.

f) save.
2. Create the install policy:
a) go to Computers → Policies.
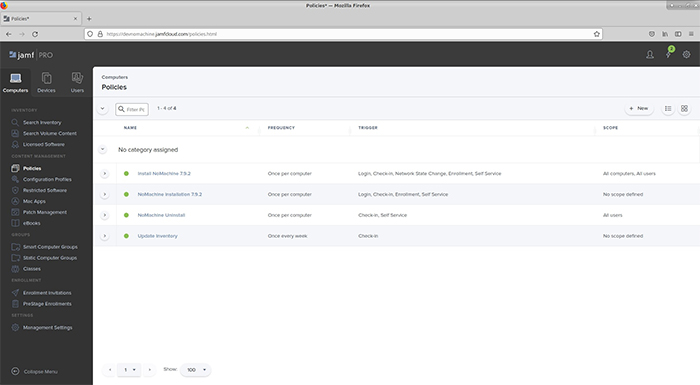
b) choose New.
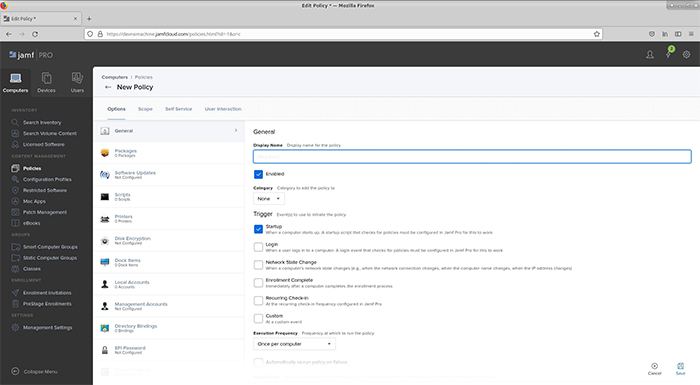
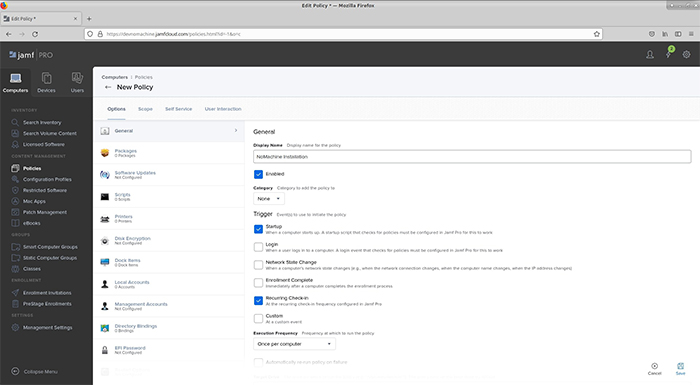
c) In General set Display Name and Trigger.
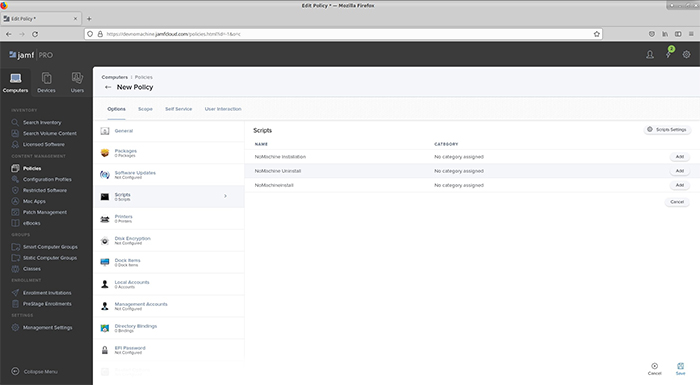
d) go to Scripts.
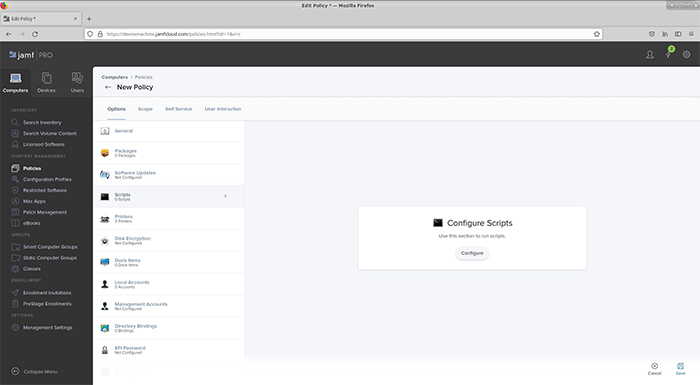
e) click Configure and add NoMachine install script.
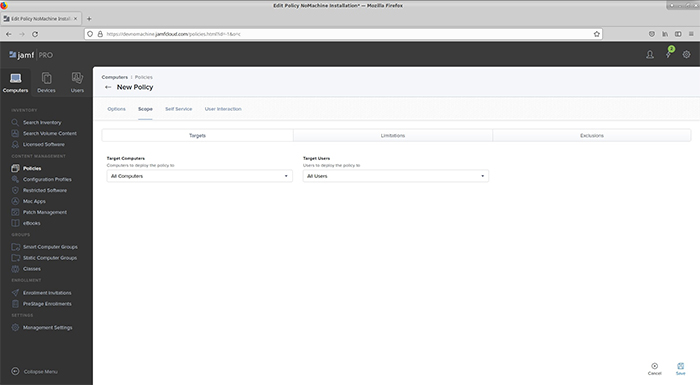
f) go to Scope tab and set Target Computers, Target Users.
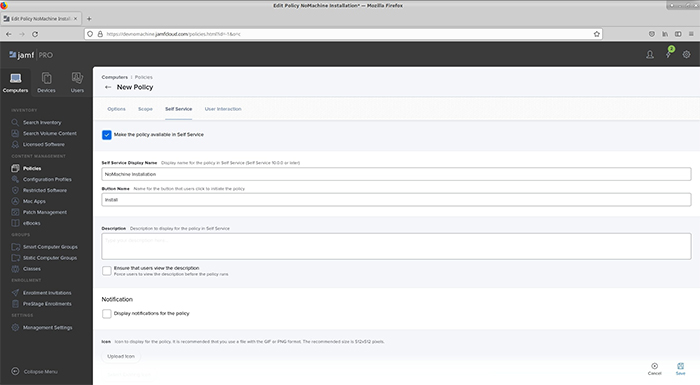
g) go to Self Service tab and click ‘Make the policy available in Self Service’.
h) save the policy.
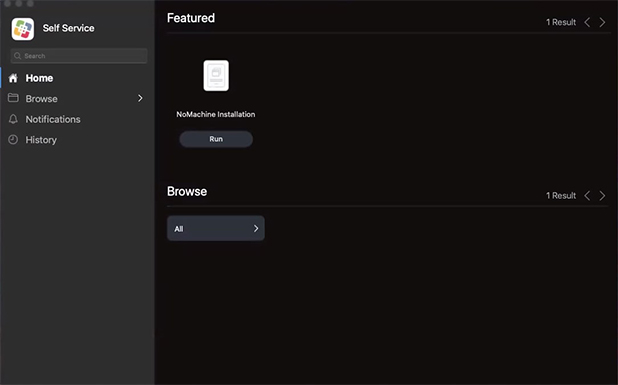
3. Run the policy on computer:
a) Open Self Service.
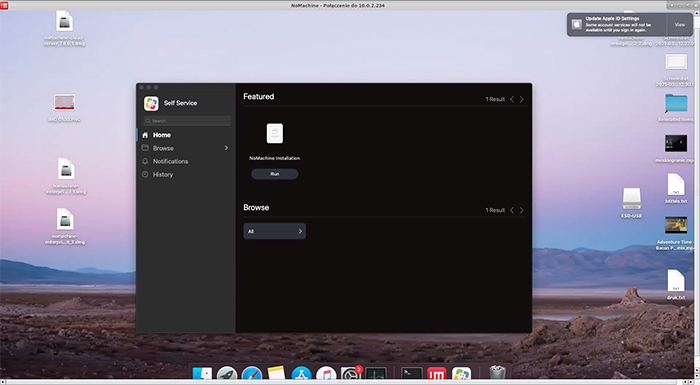
b) find NoMachine installation and click Install.
c) now NoMachine is installed.
Uninstalling
To uninstall NoMachine create a policy which runs a shell’s command.
1. Create uninstall script:
a) go to Computers → Settings → Computer Management,
b) open Scripts.
c) choose New.
d) set Display Name.

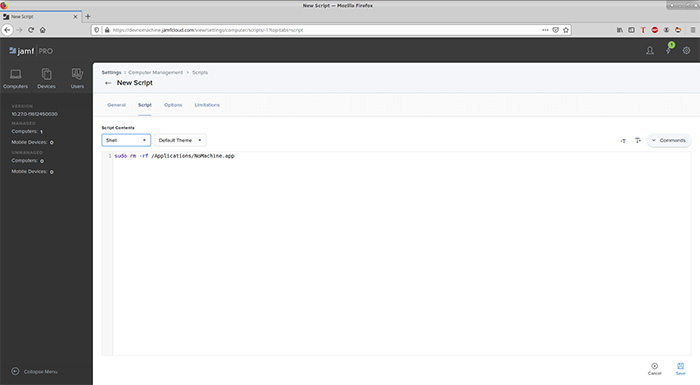
e) go to Script tab and write uninstall command:
sudo rm -rf /Applications/NoMachine.app
and set Script Contents as Shell
f) save.
2. Create the uninstall policy:
a) go to Computers → Policies.
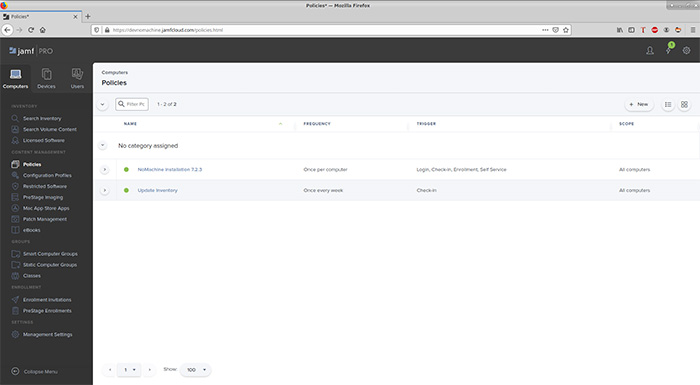
b) choose New.

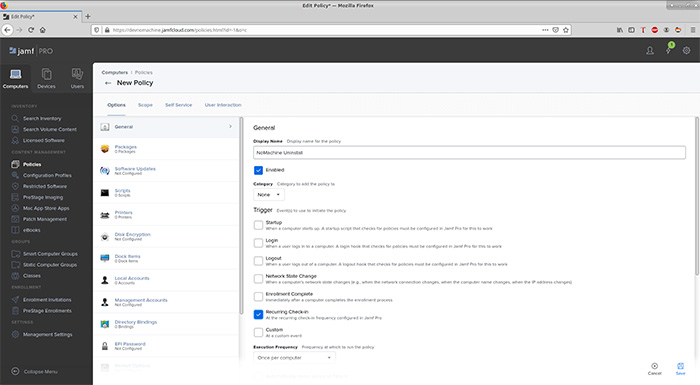
c) In General set Display Name and Trigger.
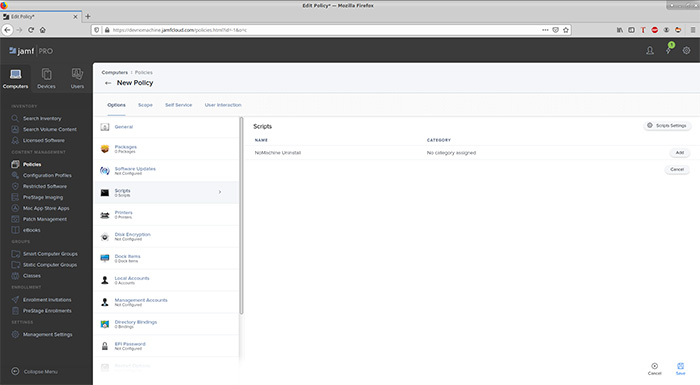
d) go to Scripts.
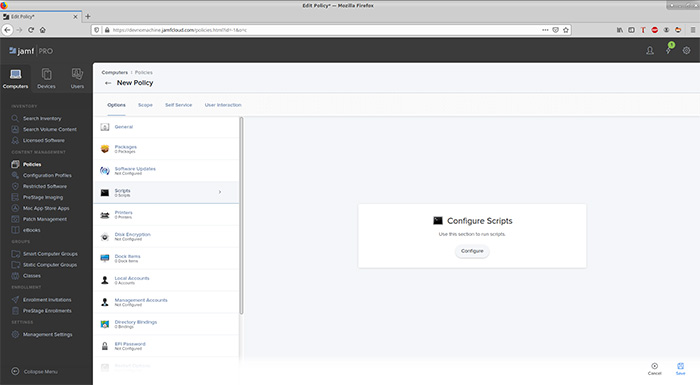
e) click Configure and add NoMachine uninstall script.
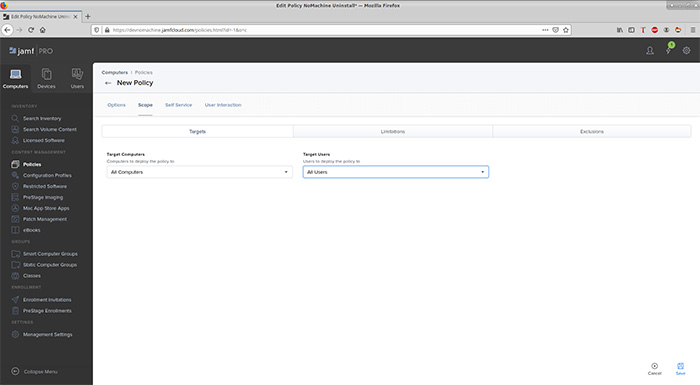
f) go to Scope tab and set Target Computers, Target Users.
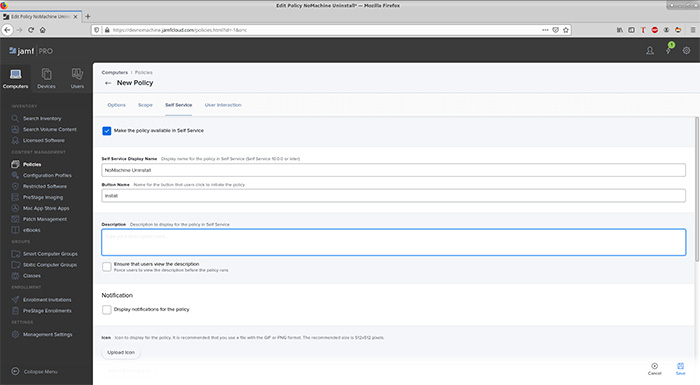
g) go to Self Service tab and click ‘Make the policy available in Self Service’.
h) save the policy.
3. Run the policy on computer:
a) Open Self Service.
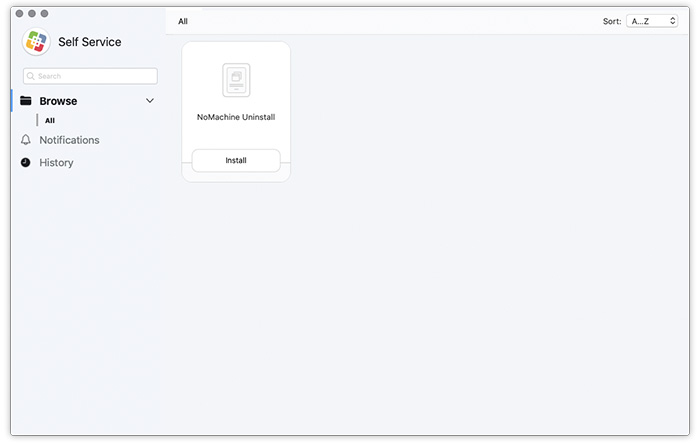
b) find NoMachine Uninstall, and click Install.
c) now NoMachine is uninstalled.