


How to enable the OpenSSH server on Windows
'SSH connections' are possible via NoMachine provided that on the server-side a NoMachine server product which supports SSH is installed.
It's possible to use the OpenSSH Server, available for Windows 11, Windows 10 (build 1809), Windows Server 2022 and Windows Server 2019.
OpenSSH Server accepts connections on port 22 by default.
To install and enable the OpenSSH server, follow these steps on the Windows computer where you have installed any of the NoMachine server products from the Enterprise range:
1) Open Apps & features → Optional features → Add a feature and check 'OpenSSH Server'
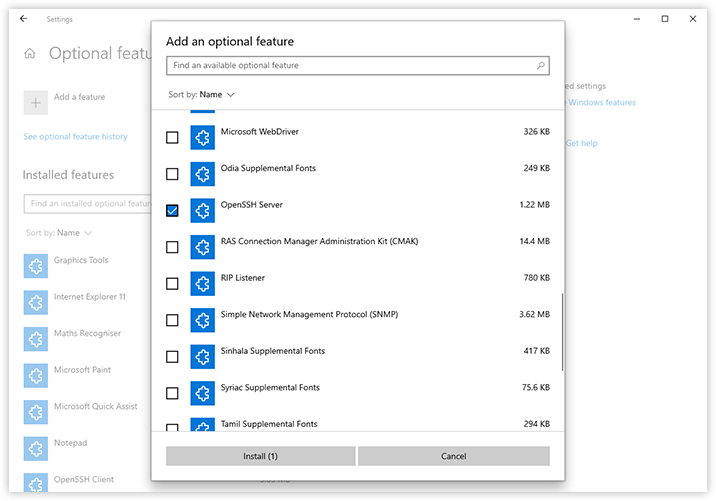
Fig. 1 Check 'OpenSSH Server'
2) Click on 'Install' to install the OpenSSH server.
3) Then select 'Start' to start the service, you can also choose to start it automatically.
Otherwise launch PowerShell as administrator and make the following operations.
1) List available Windows optional features by exectuing this command:
Get-WindowsCapability -Online | Where-Object Name -like 'OpenSSH*'
2) Install the OpenSSH server with:
Add-WindowsCapability -Online -Name OpenSSH.Server~~~~0.0.1.0
3) Enable the following firewall rule by executing (all on a single line):
New-NetFirewallRule -Name sshd -DisplayName 'OpenSSH SSH Server' -Enabled True -Direction Inbound -Protocol TCP -Action Allow -LocalPort 22 -Program "C:\System32\OpenSSH\sshd.exe"

Fig. 2 - Create and enable the firewall rule
4) Start the SSHD service by executing in the PowerShell:
Start-Service sshd
5) Finally, add the SSHD service to the automatic startup:
Set-Service -Name sshd -StartupType 'Automatic'
Ref. https://docs.microsoft.com/en-us/windows-server/administration/openssh/openssh_install_firstuse